How To:
|
|

|
|
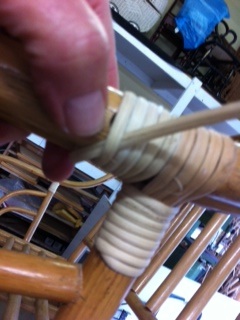
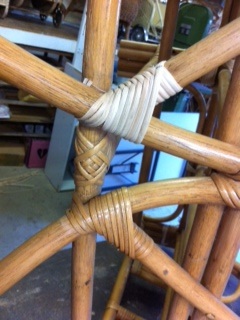
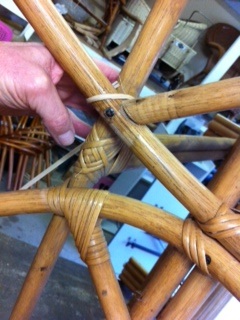
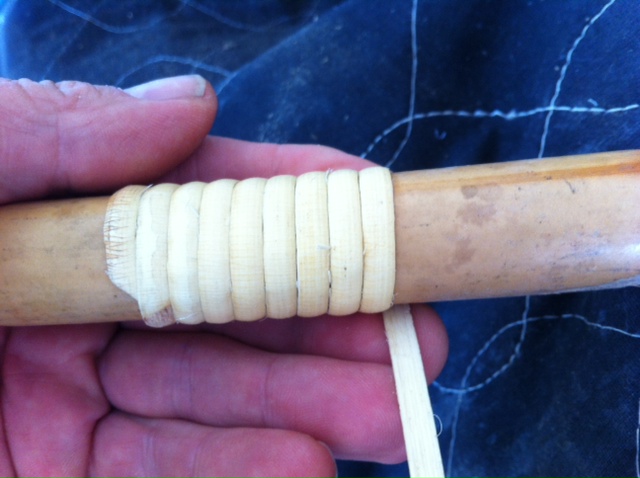
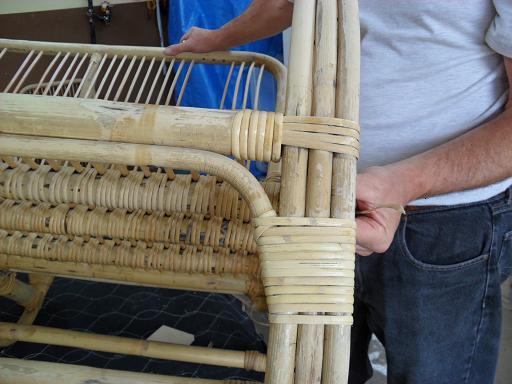
Cane Binding is relatively straight forward and can be achieved by most who enjoy DIY projects.
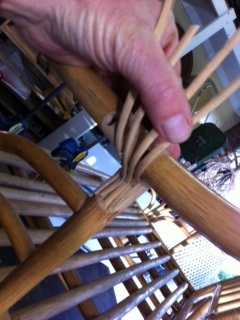
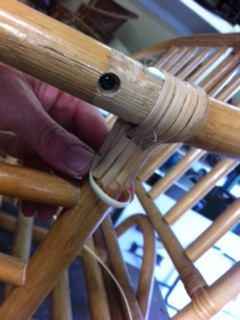
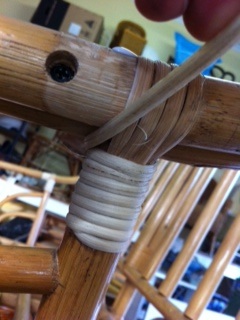
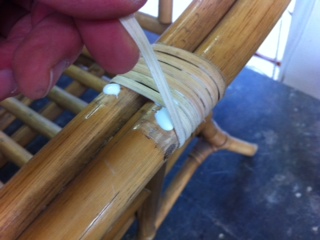
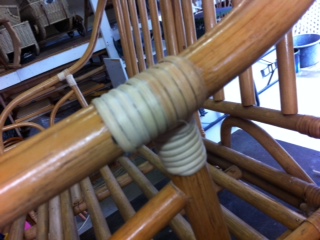
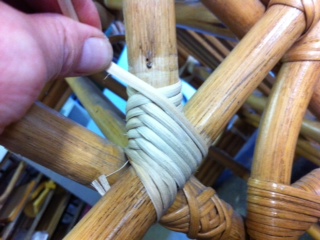
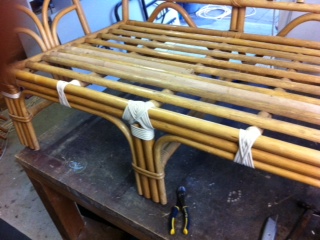
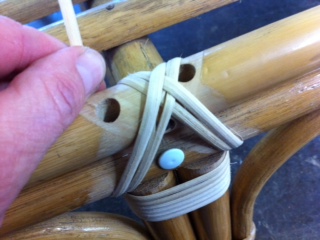
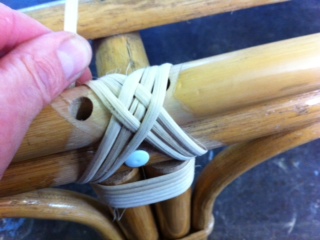
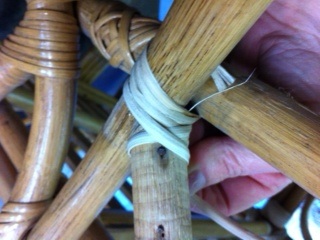
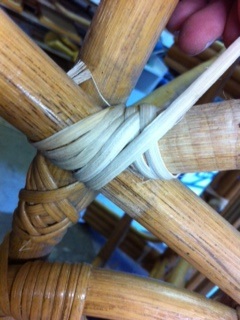
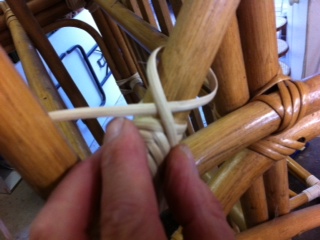
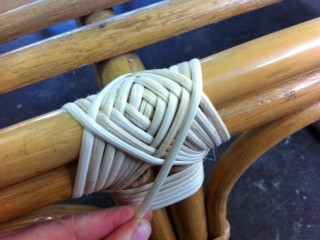
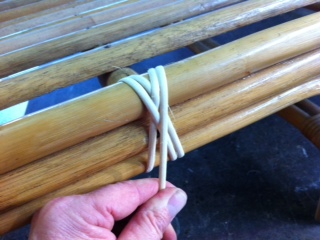
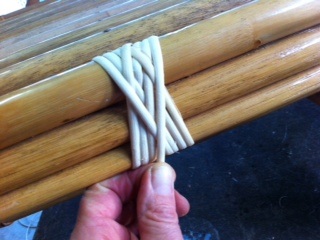
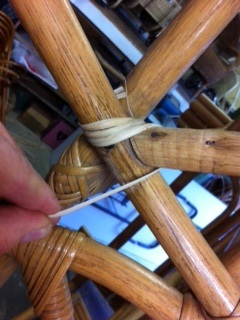
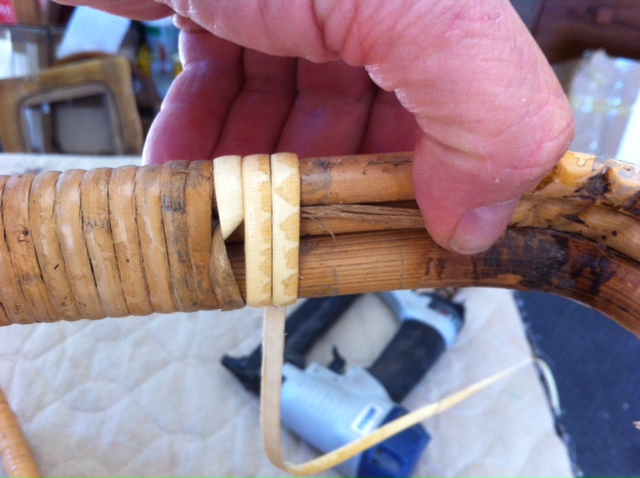
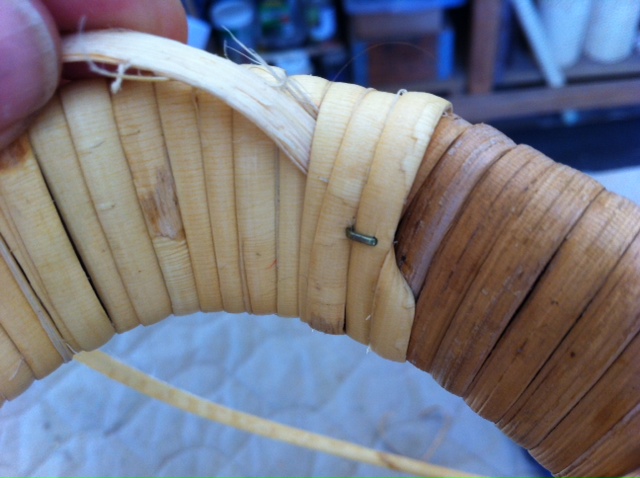
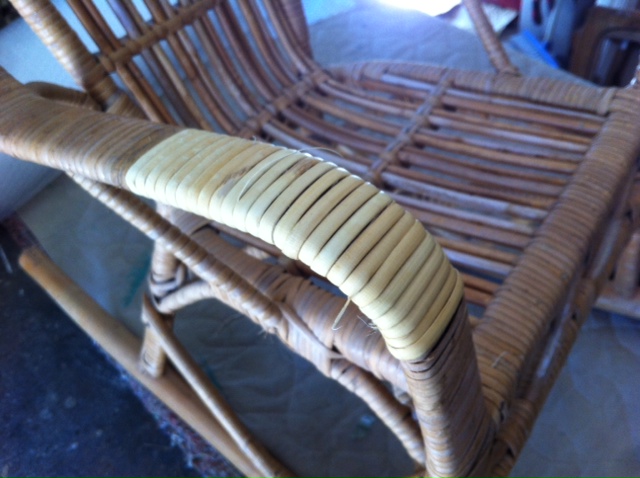
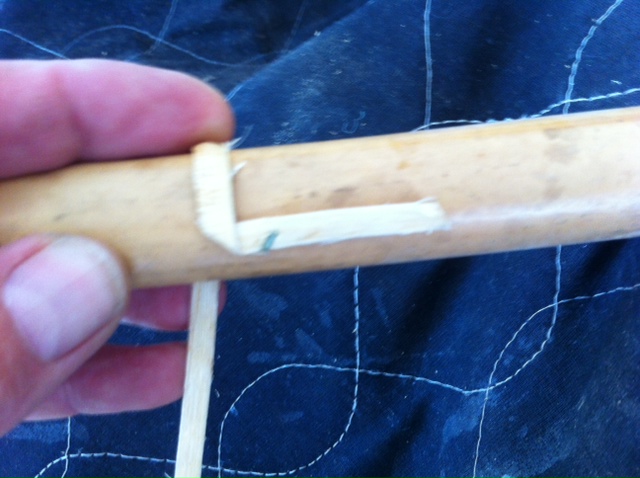
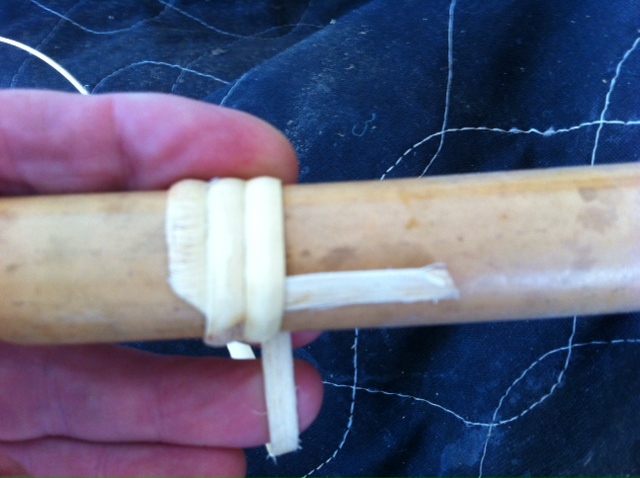
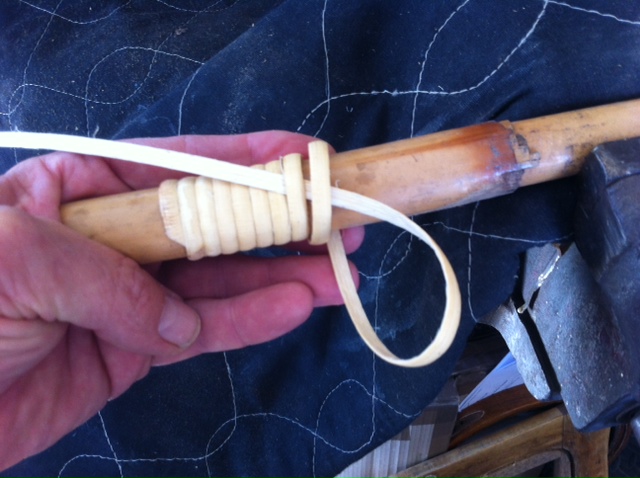
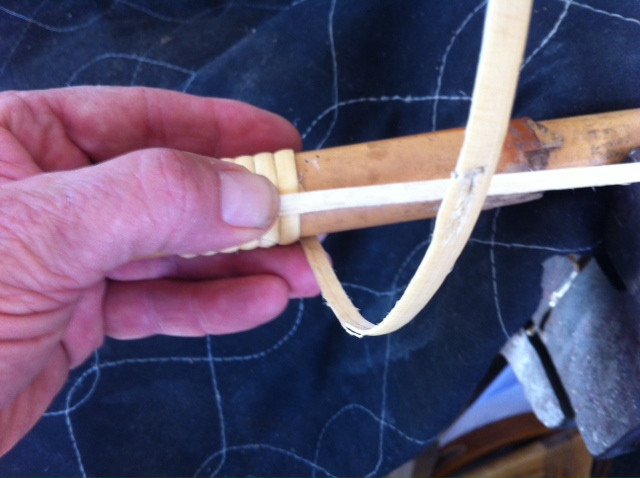
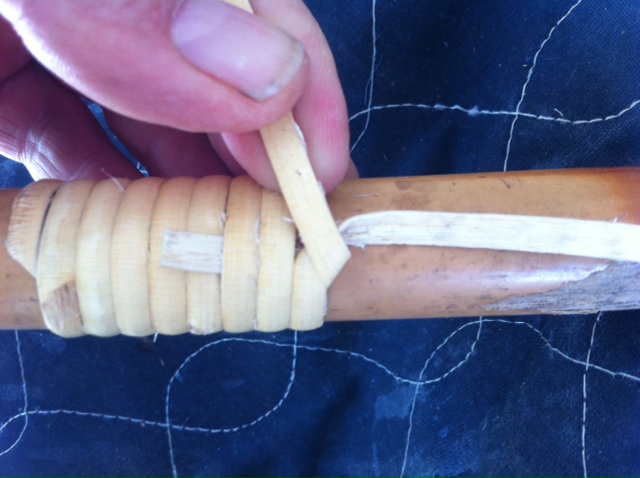
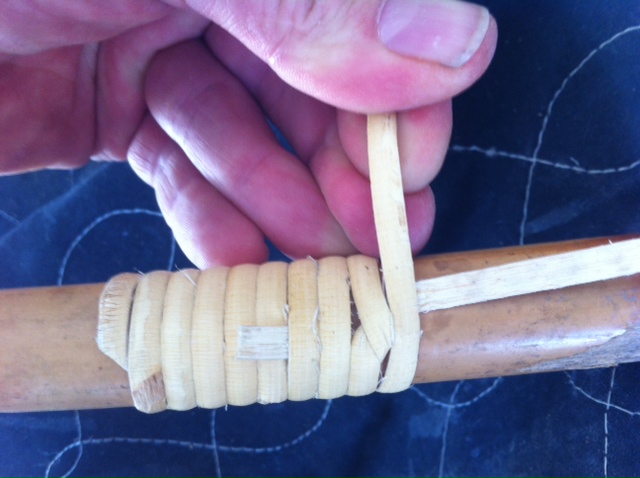
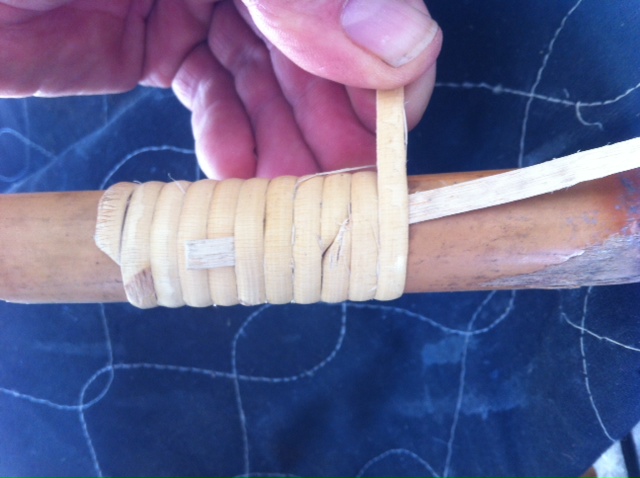
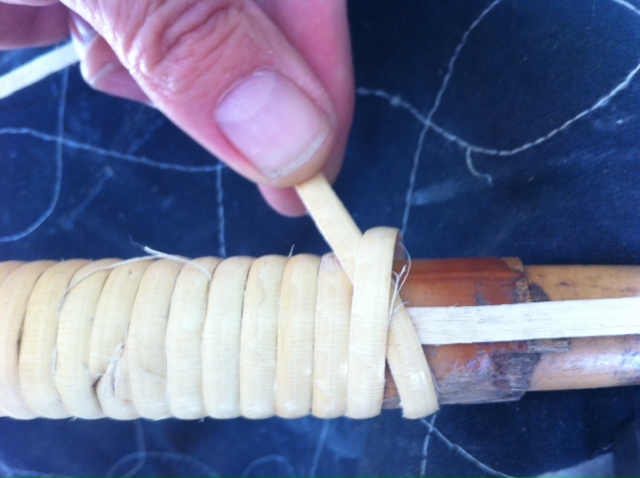
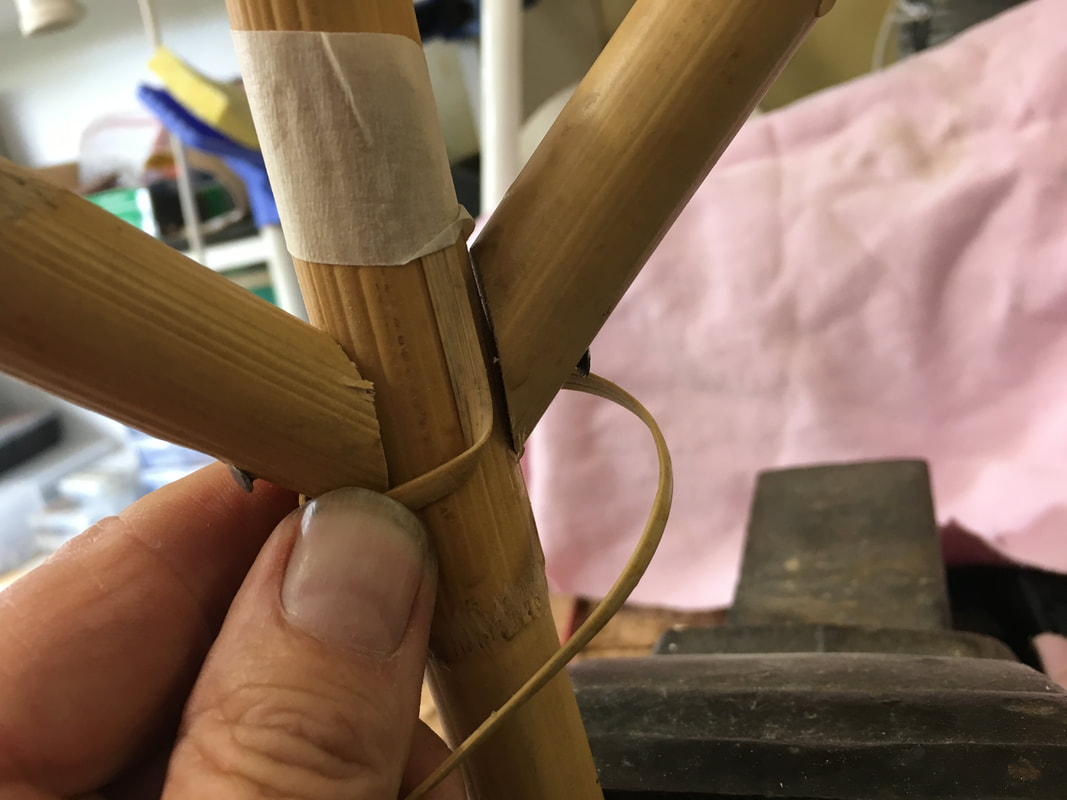
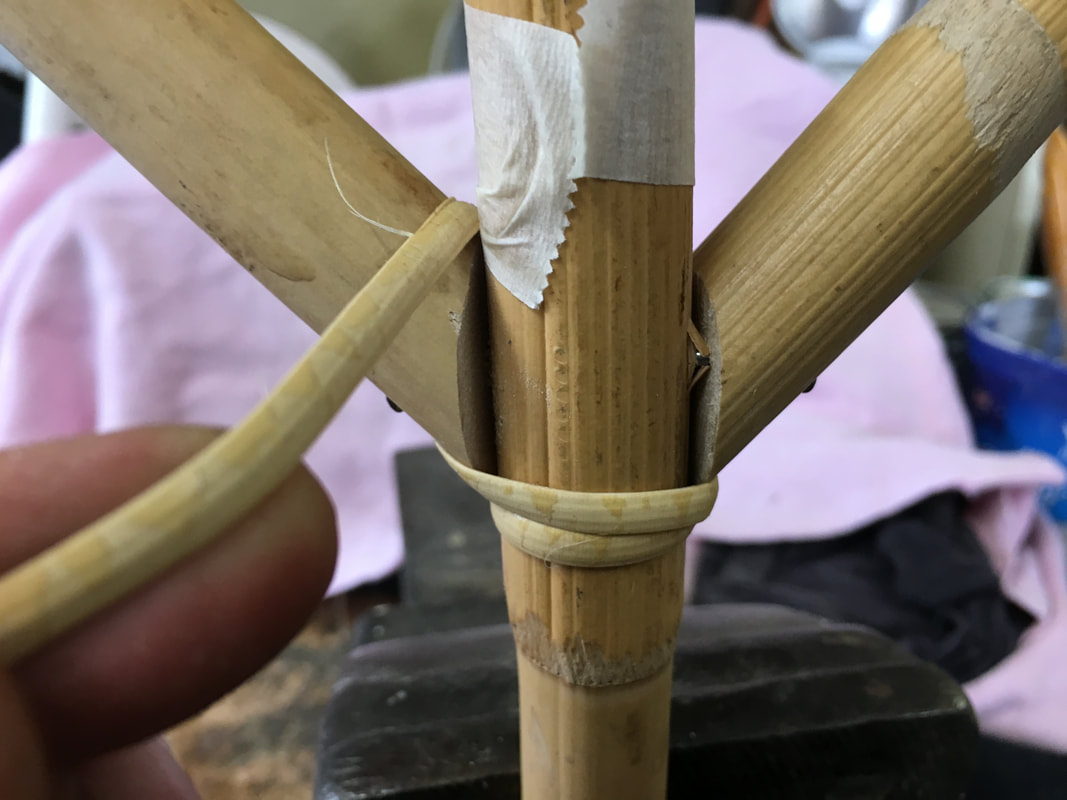
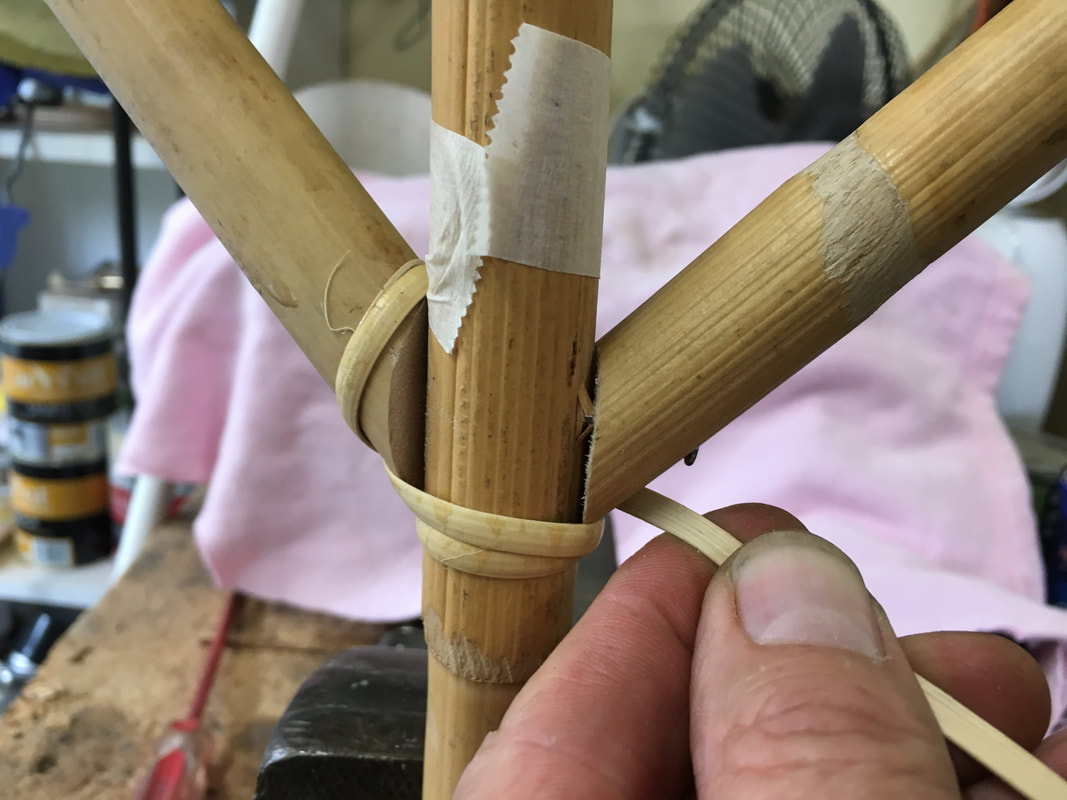
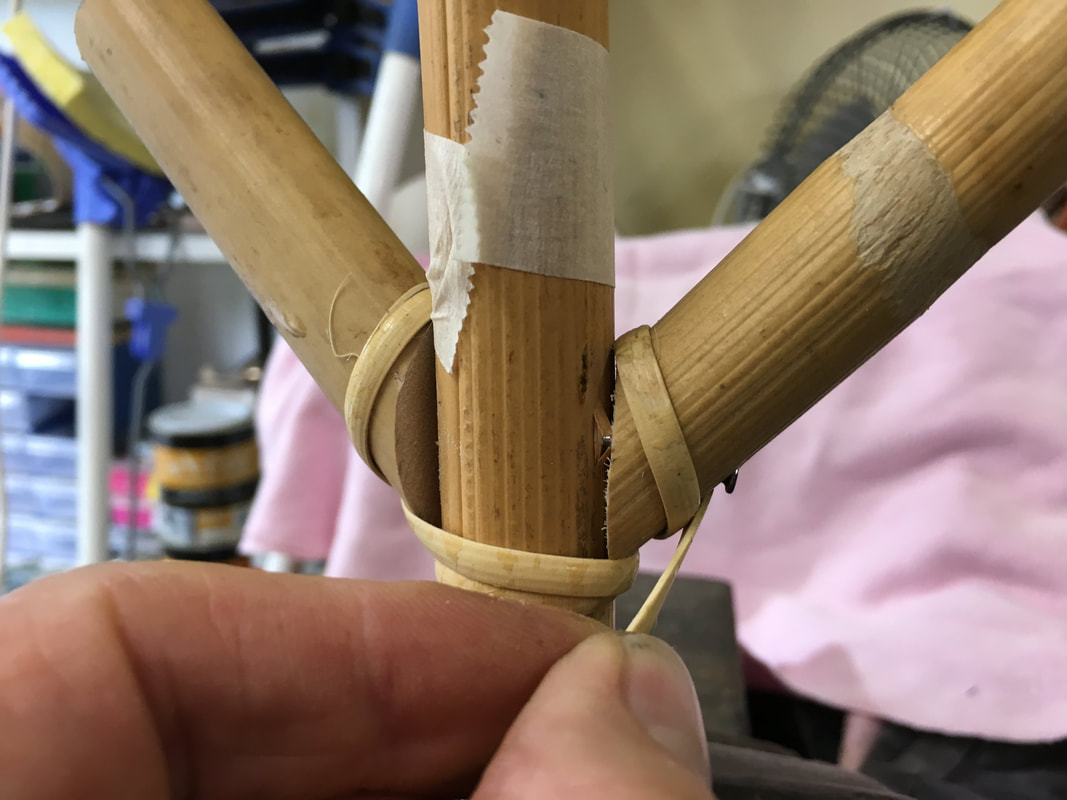
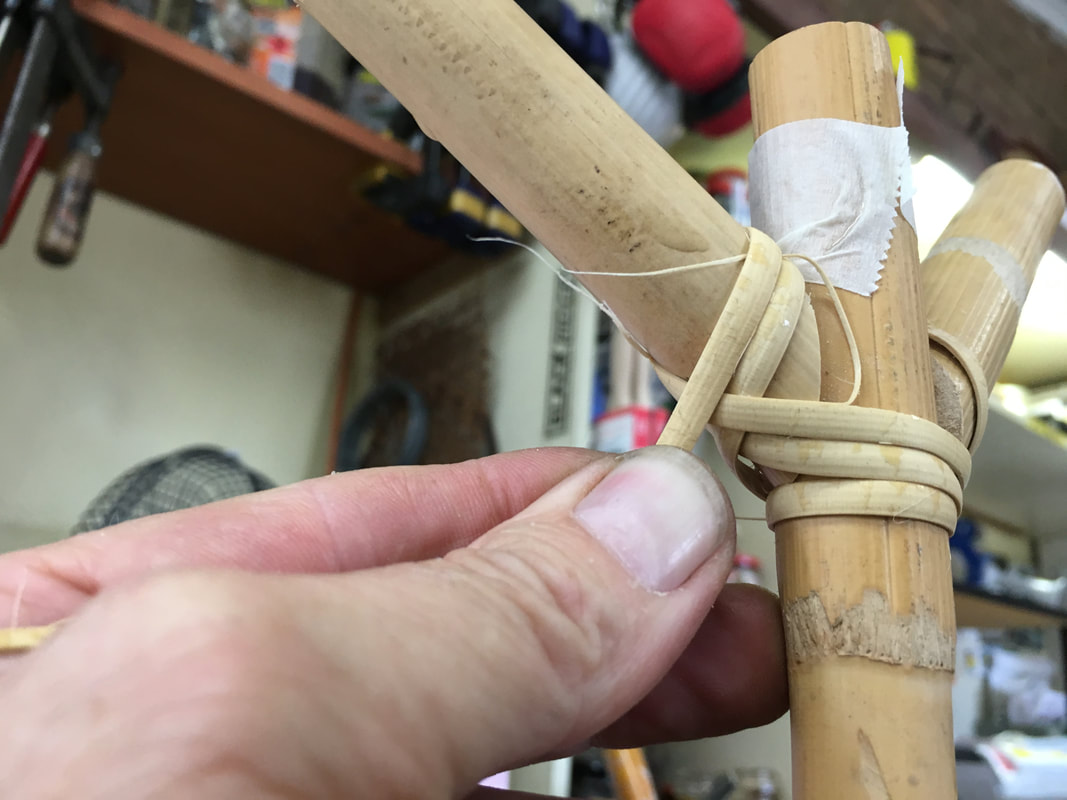
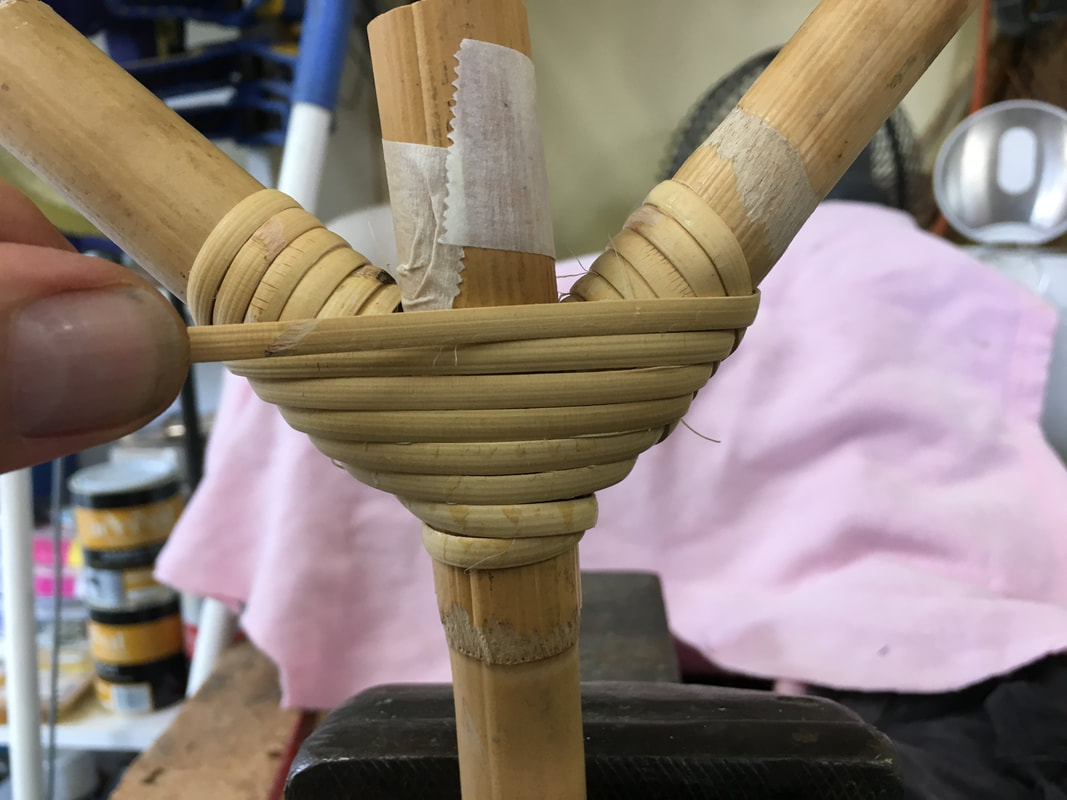
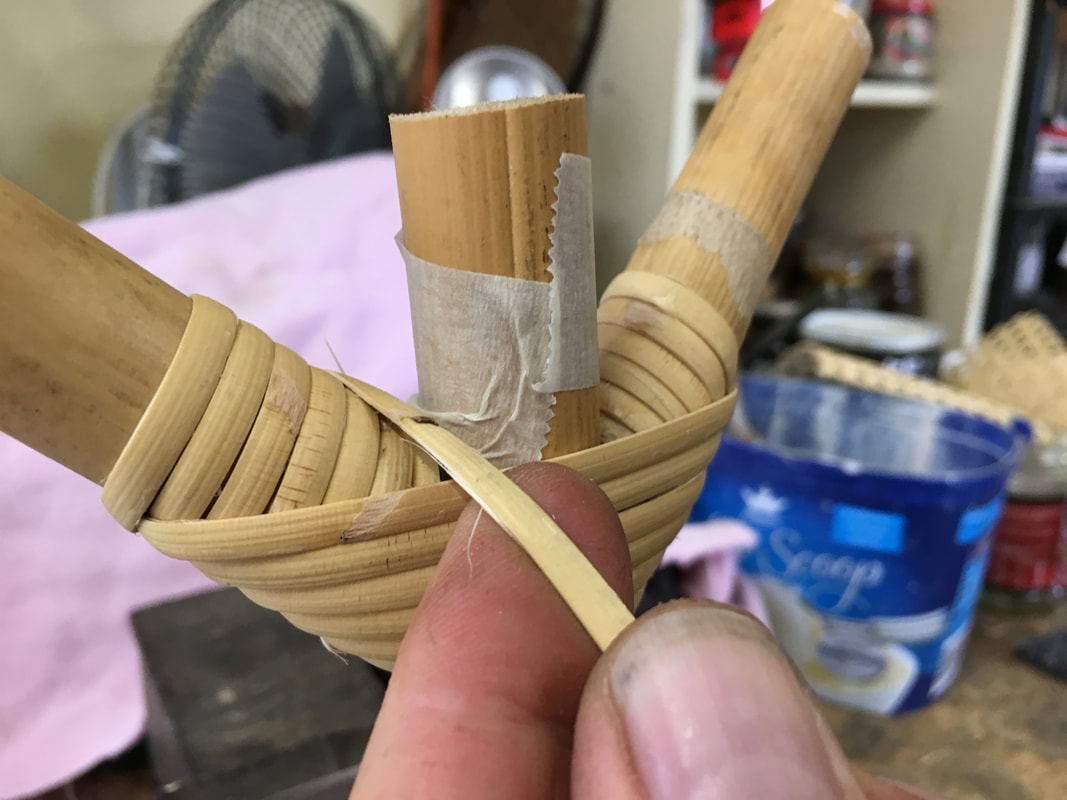
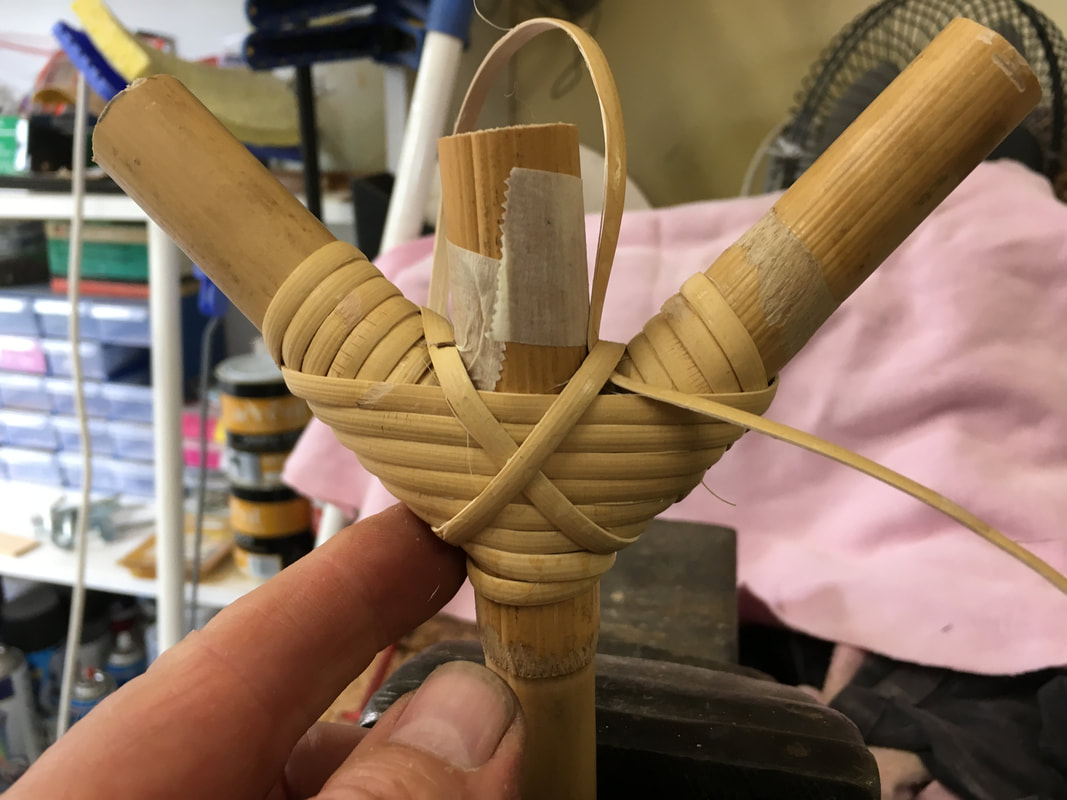
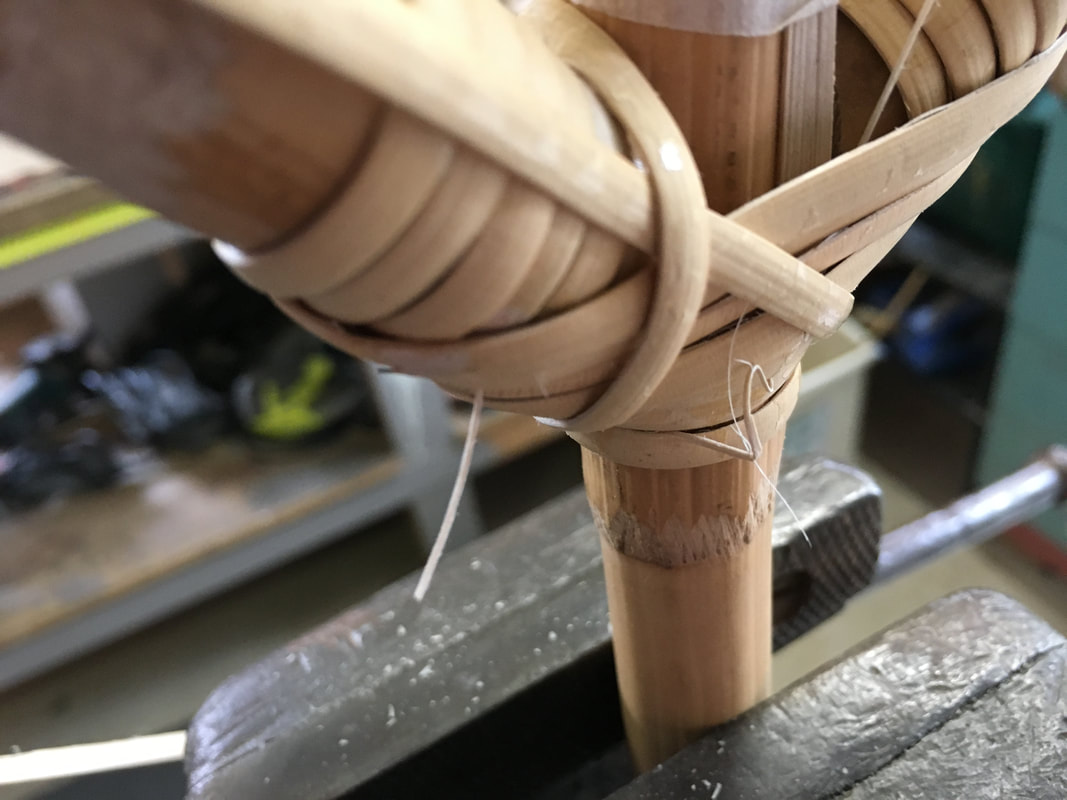
Below are pics showing step by step binding techniques on various types of bindings that should help you with your binding repairs.
Tips:
# Tools required: Stanley knife, small hammer with small nail or staple gun with small staples. Water and damp cloth.
# Only soak the cane binding for a few minates in warm water, and as long as nthe cane binding remains damp, it's good to use.
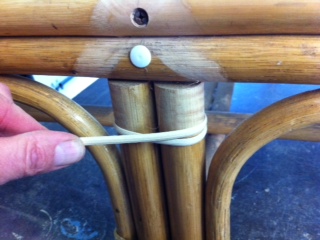
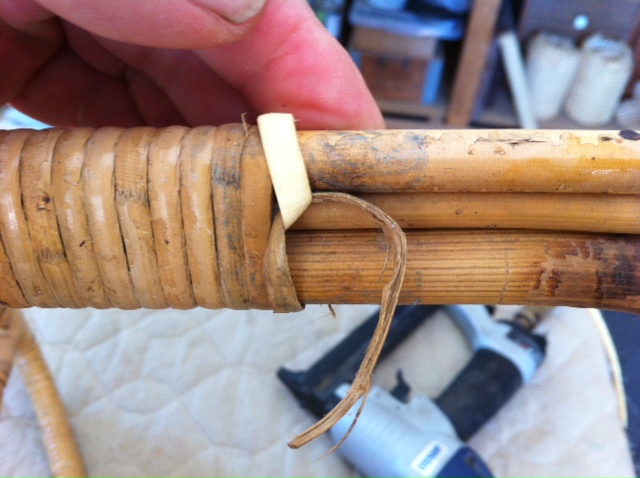
# Small staples are ideal for fastening the cane binding. Tacks and nails can be used but they tend to split the cane binding.
# PVA wood glue can be used, especially around the bottom of the chair legs and arms.
# Once the cane binding is dry, you can burn off with a stick lighter any cane fibres that may have lifted from soaking in water.
# Apply a finishing coat. Shellac, Polyurethane, Oil or Lacquer. Or leave nataural. The cane will darken naturally with age.
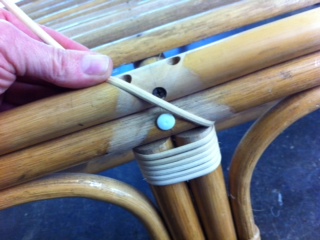
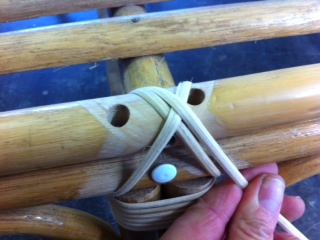
Below are pics showing step by step binding techniques on various types of bindings that should help you with your binding repairs.
Tips:
# Tools required: Stanley knife, small hammer with small nail or staple gun with small staples. Water and damp cloth.
# Only soak the cane binding for a few minates in warm water, and as long as nthe cane binding remains damp, it's good to use.
# Small staples are ideal for fastening the cane binding. Tacks and nails can be used but they tend to split the cane binding.
# PVA wood glue can be used, especially around the bottom of the chair legs and arms.
# Once the cane binding is dry, you can burn off with a stick lighter any cane fibres that may have lifted from soaking in water.
# Apply a finishing coat. Shellac, Polyurethane, Oil or Lacquer. Or leave nataural. The cane will darken naturally with age.